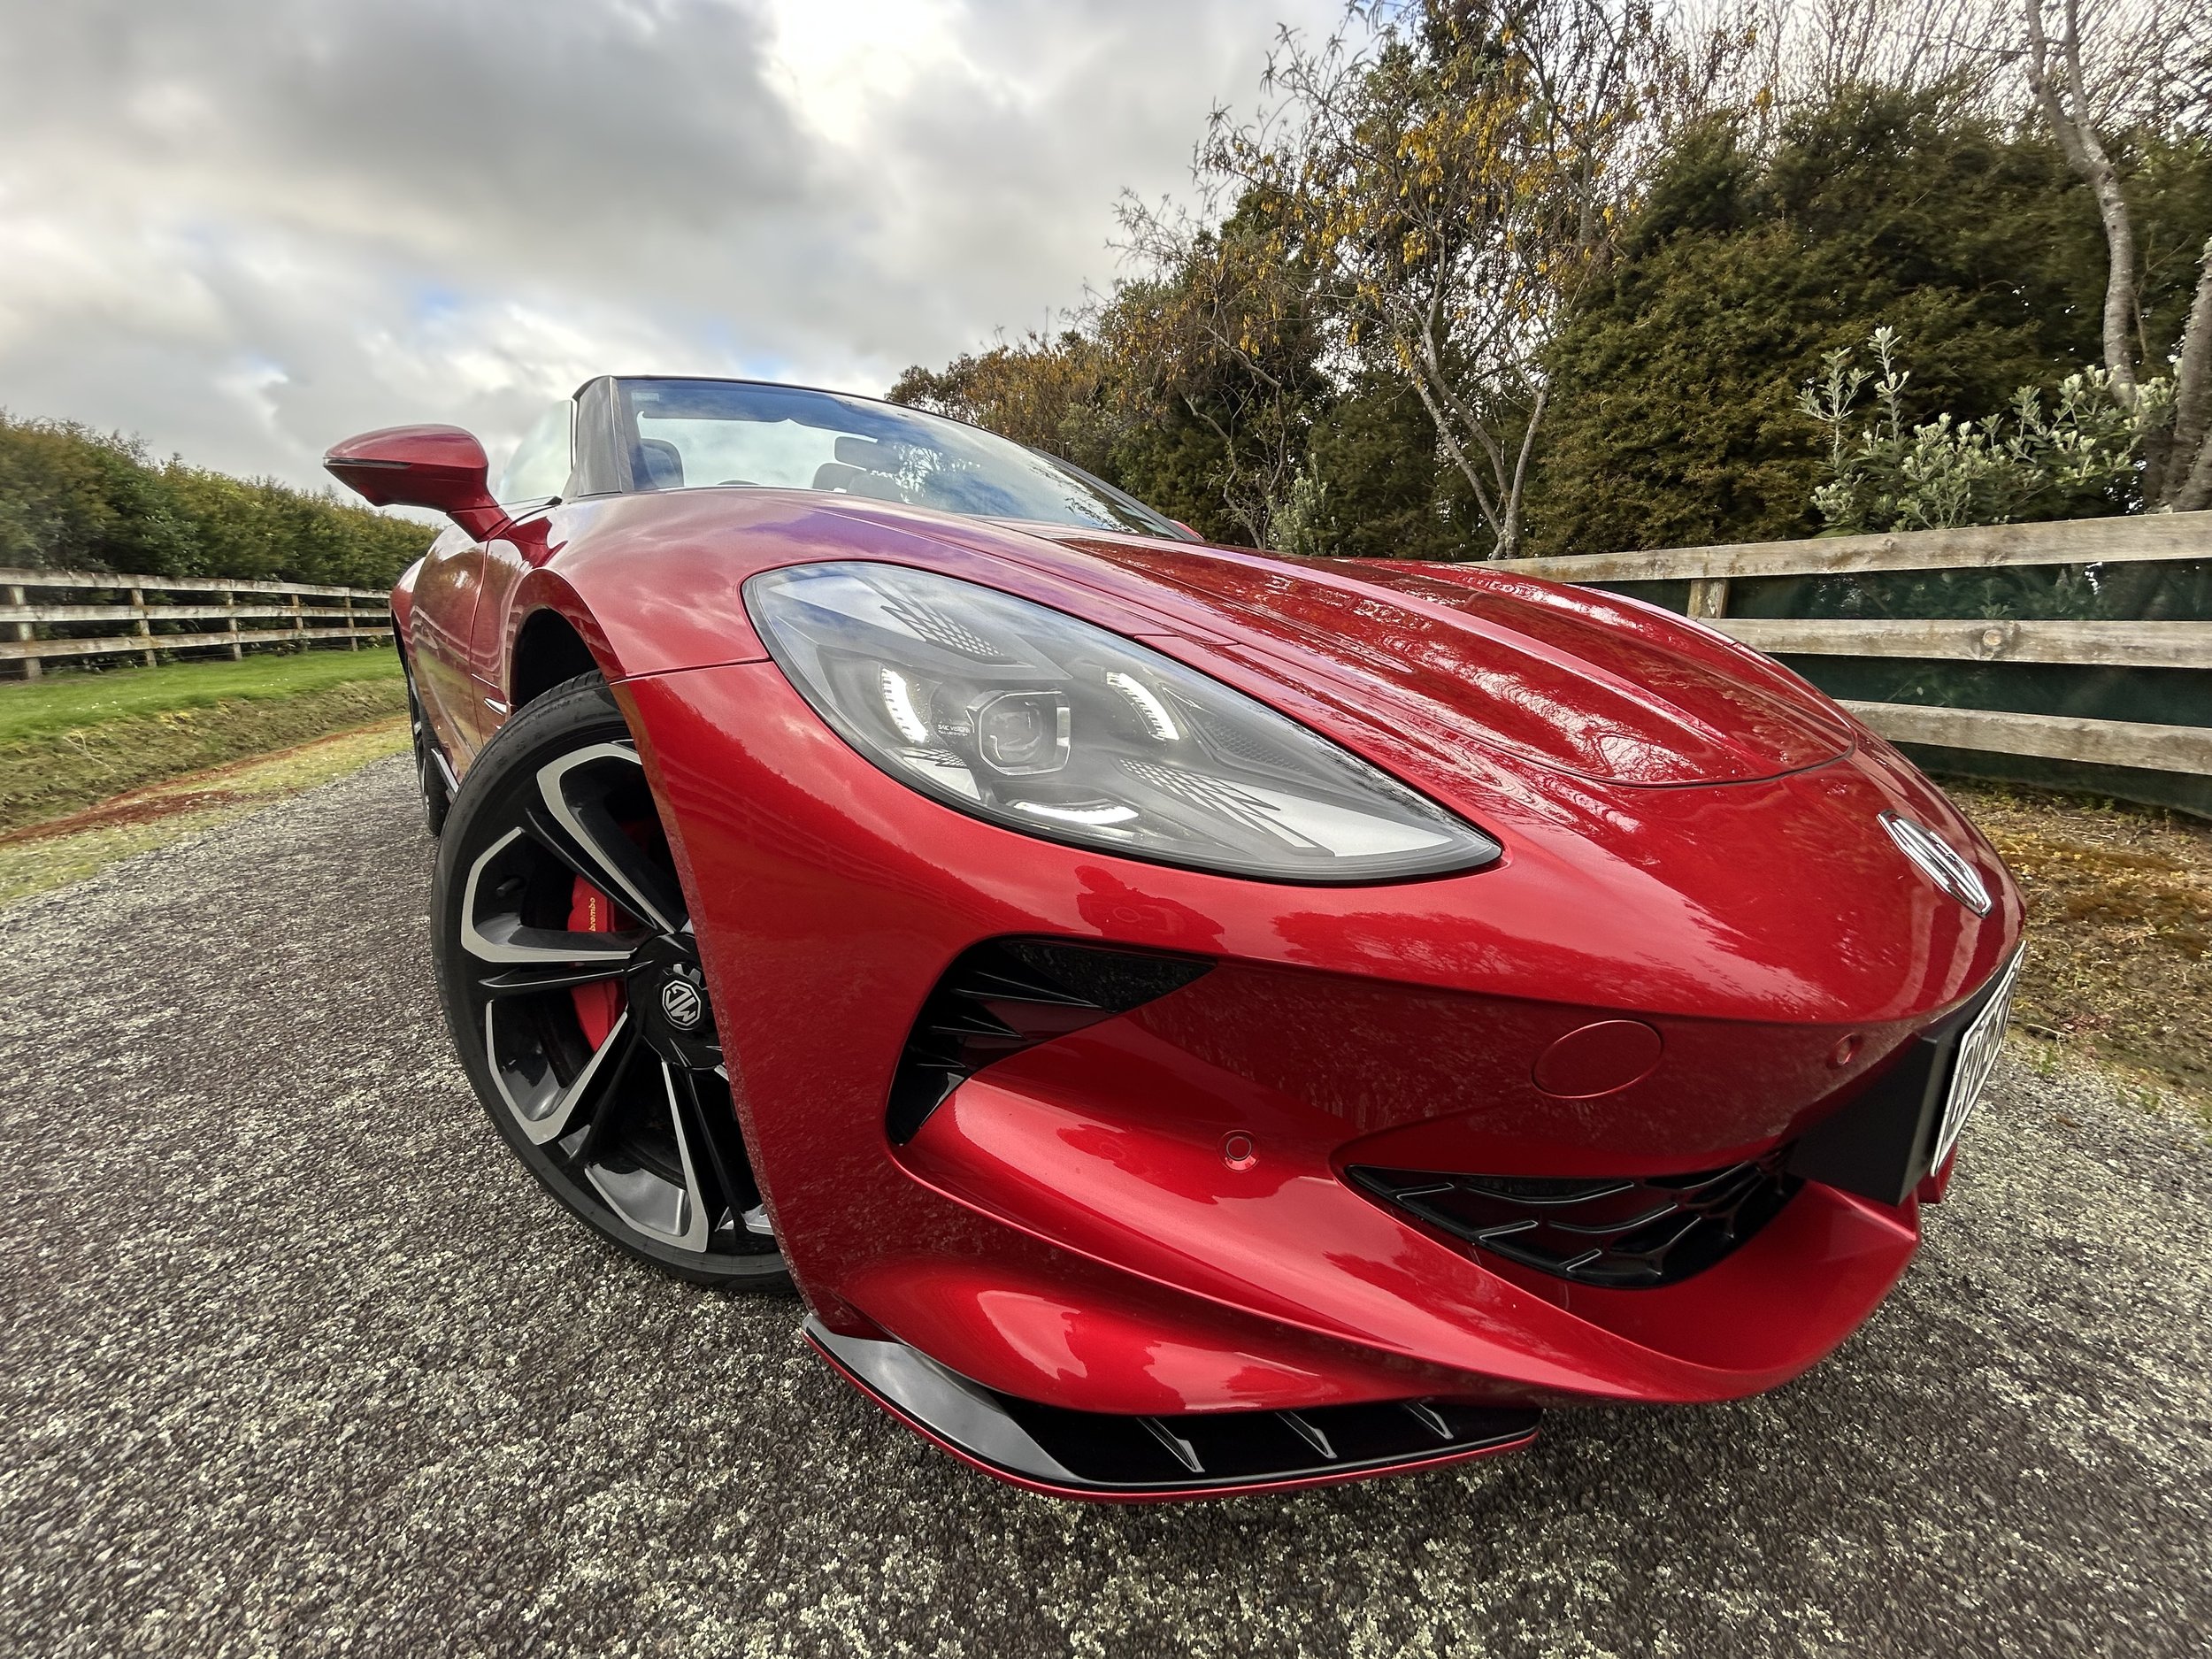
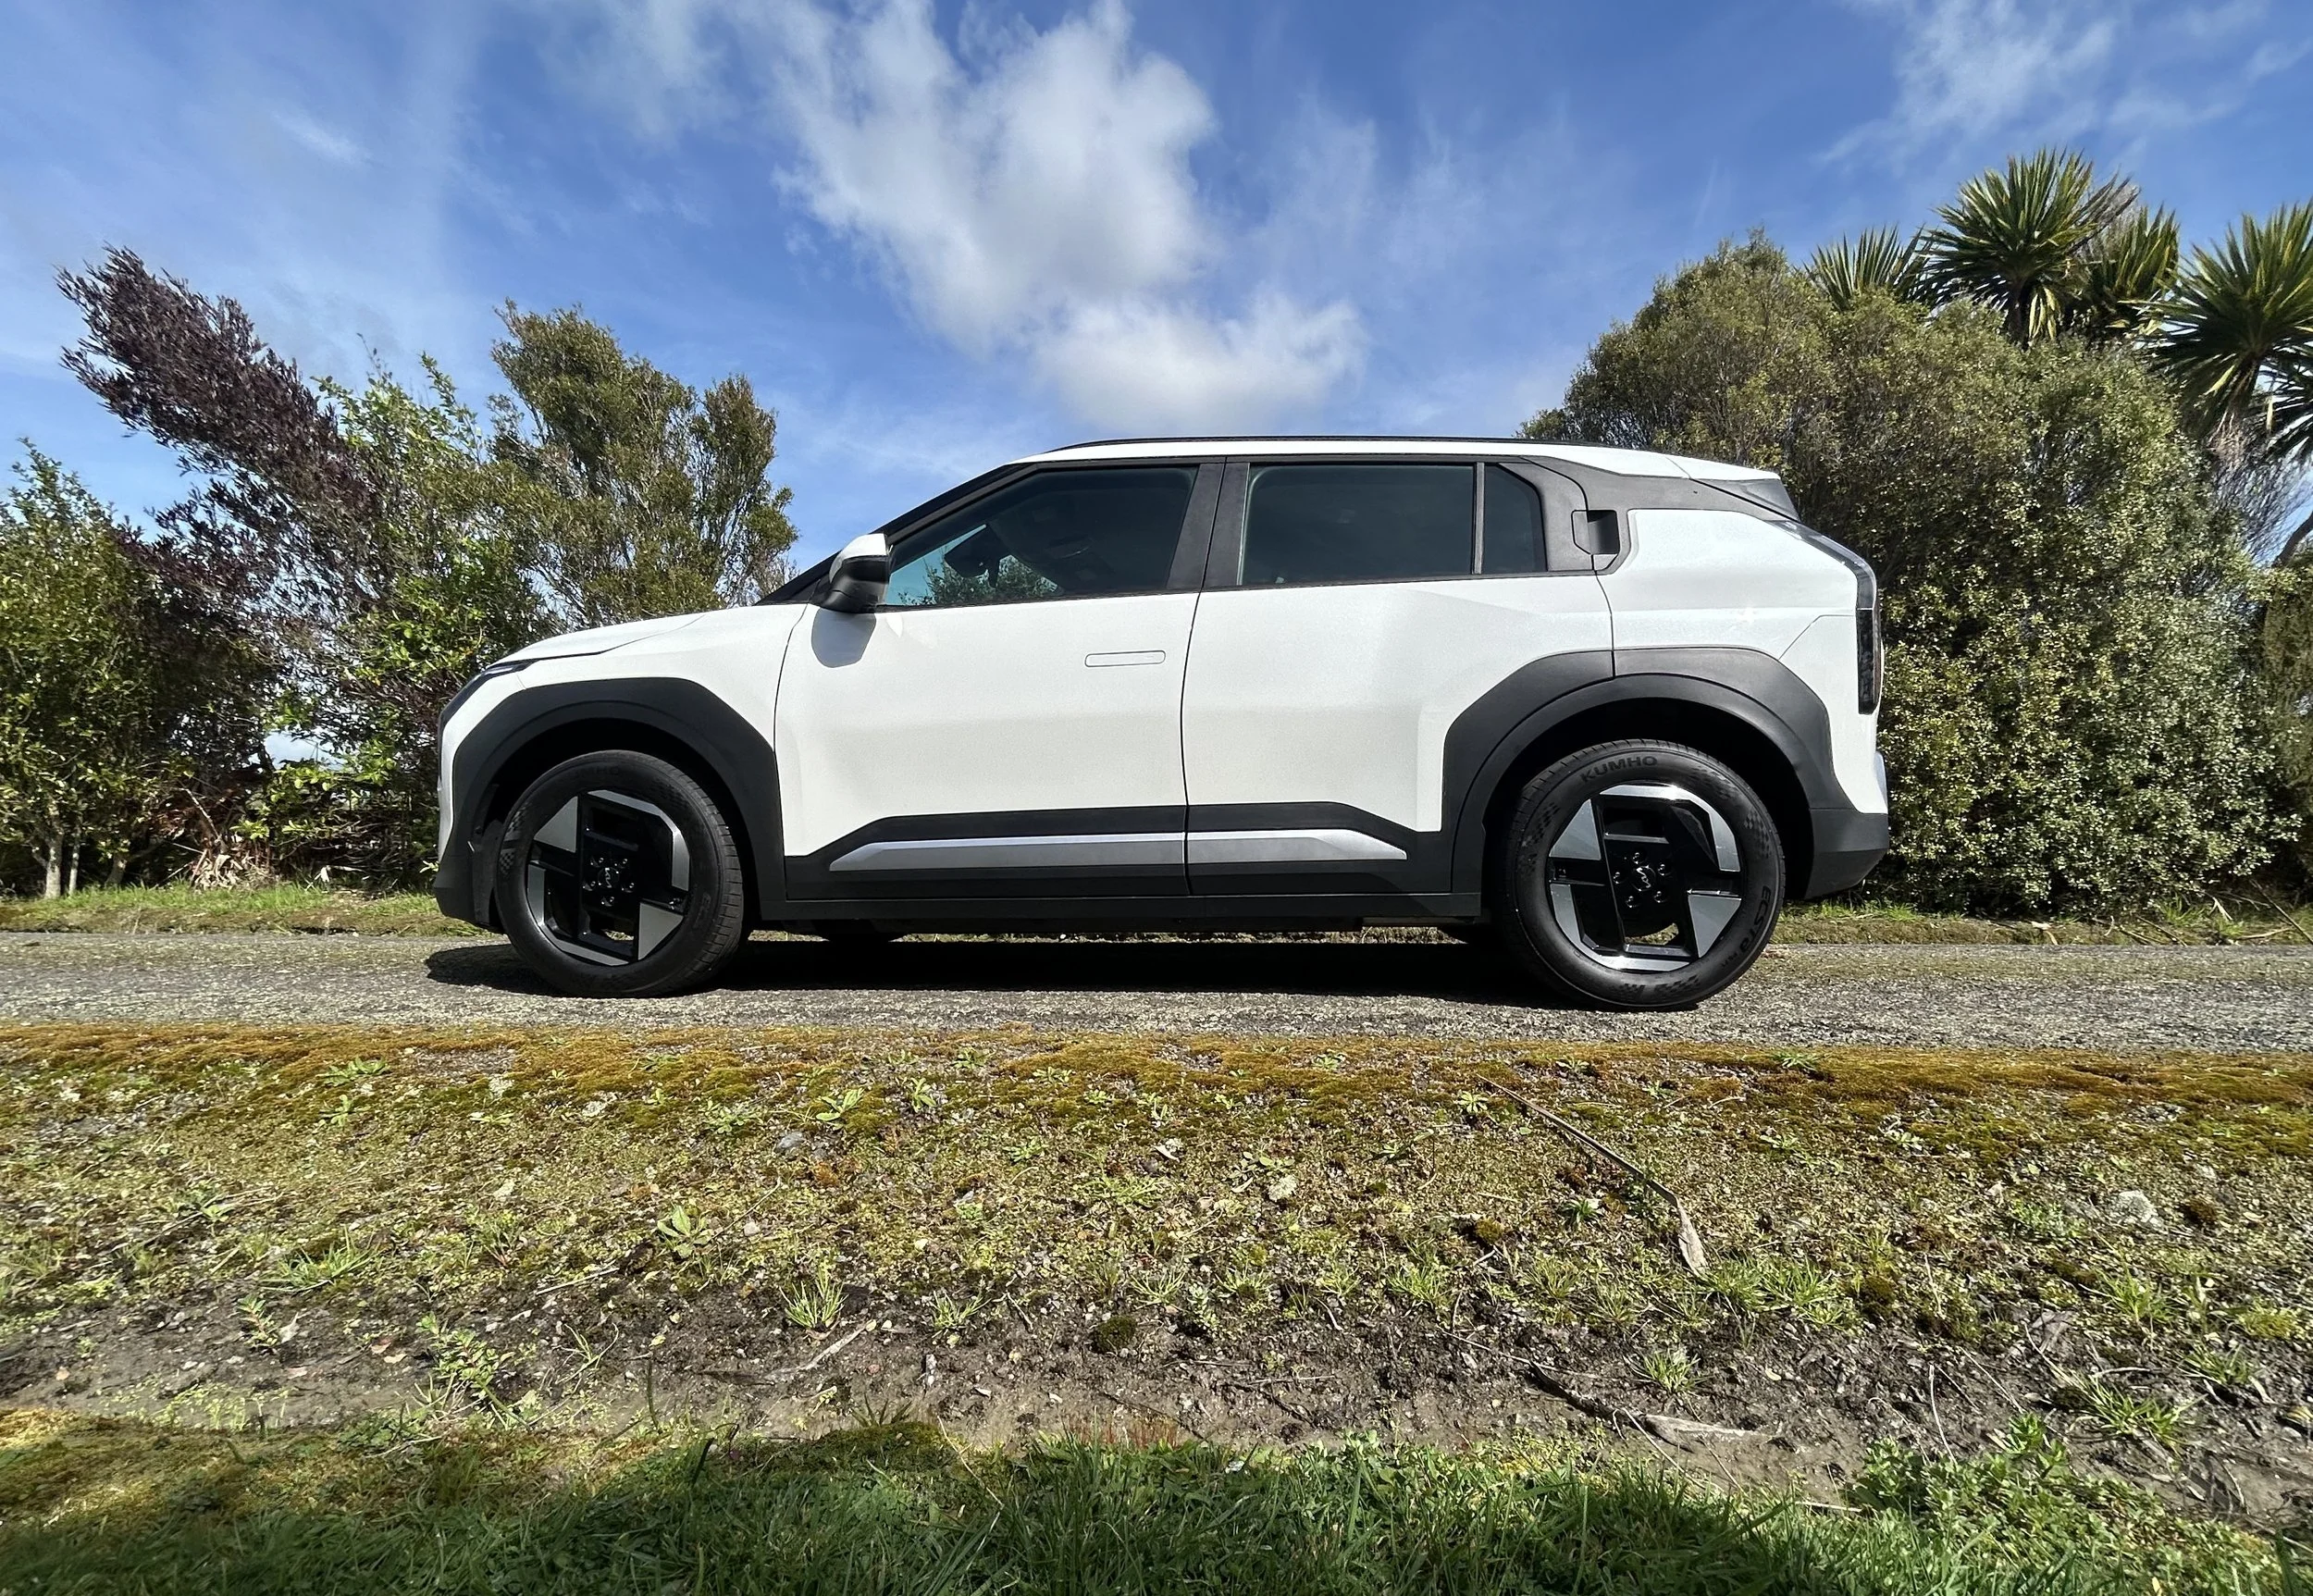
Top tips for photographing cars
/‘How do I take better car photos?’ We put this simple question to professional photographer and car nut Lewis Gardner.
As predictable and as inevitable as rain, you will find yourself at some point in your life face to face with an automotive gem, a beauty of a car that you wish to immortalise with a camera so that you may share the resultant image, perhaps with your actual friends or all those you've made in the virtual world.
This compulsive need to photograph cars is one I understand very well as it's something I started doing at an early age. I can trace the affair’s origins to the city of La Rochelle in the south of France, where at the age of eight, I used a compact film camera to snap a lime green Citroen Mehari. I realise that this poor excuse for a Mini Moke is hardly set to stand as a starting point for most car obsessions, but it was an unusual enough sight for my eyes to warrant being captured on film. Anyway, since then my love of photographing cars has never dwindled.
Anyway, regardless of what you're out to photograph, there's always going to be a big difference between a mere snapshot and a work of such beauty you'll want to hang it on the wall. So, the aim of today's piece is to educate your photographic skills and help you to capture your favourite cars in the best way possible.
Omnidirectional - it's a good word
Predominately this term refers to ‘exisiting in every direction.' Radio waves, recording microphones and even cameras that capture 360 degrees at once are all omnidirectional. I use this term because it can, in fact, be applied to all forms of photography.
Take a moment to watch someone taking a photo and you will undoubtedly see them hold the device up to their eye height. They are effectively just taking a photo of what they can see with their eyes. This produces a simple ‘Snapshot’. A photo is made far more interesting if it is taken from an angle that people do not usually 'see' it from.
Anyway, next time you photograph a car, monument, landscape or so on think ‘omnidirectional’ and change the position you are photographing from. Observe the angles and heights others are shooting from and try to position yourself up, down, left or right of where you were originally.
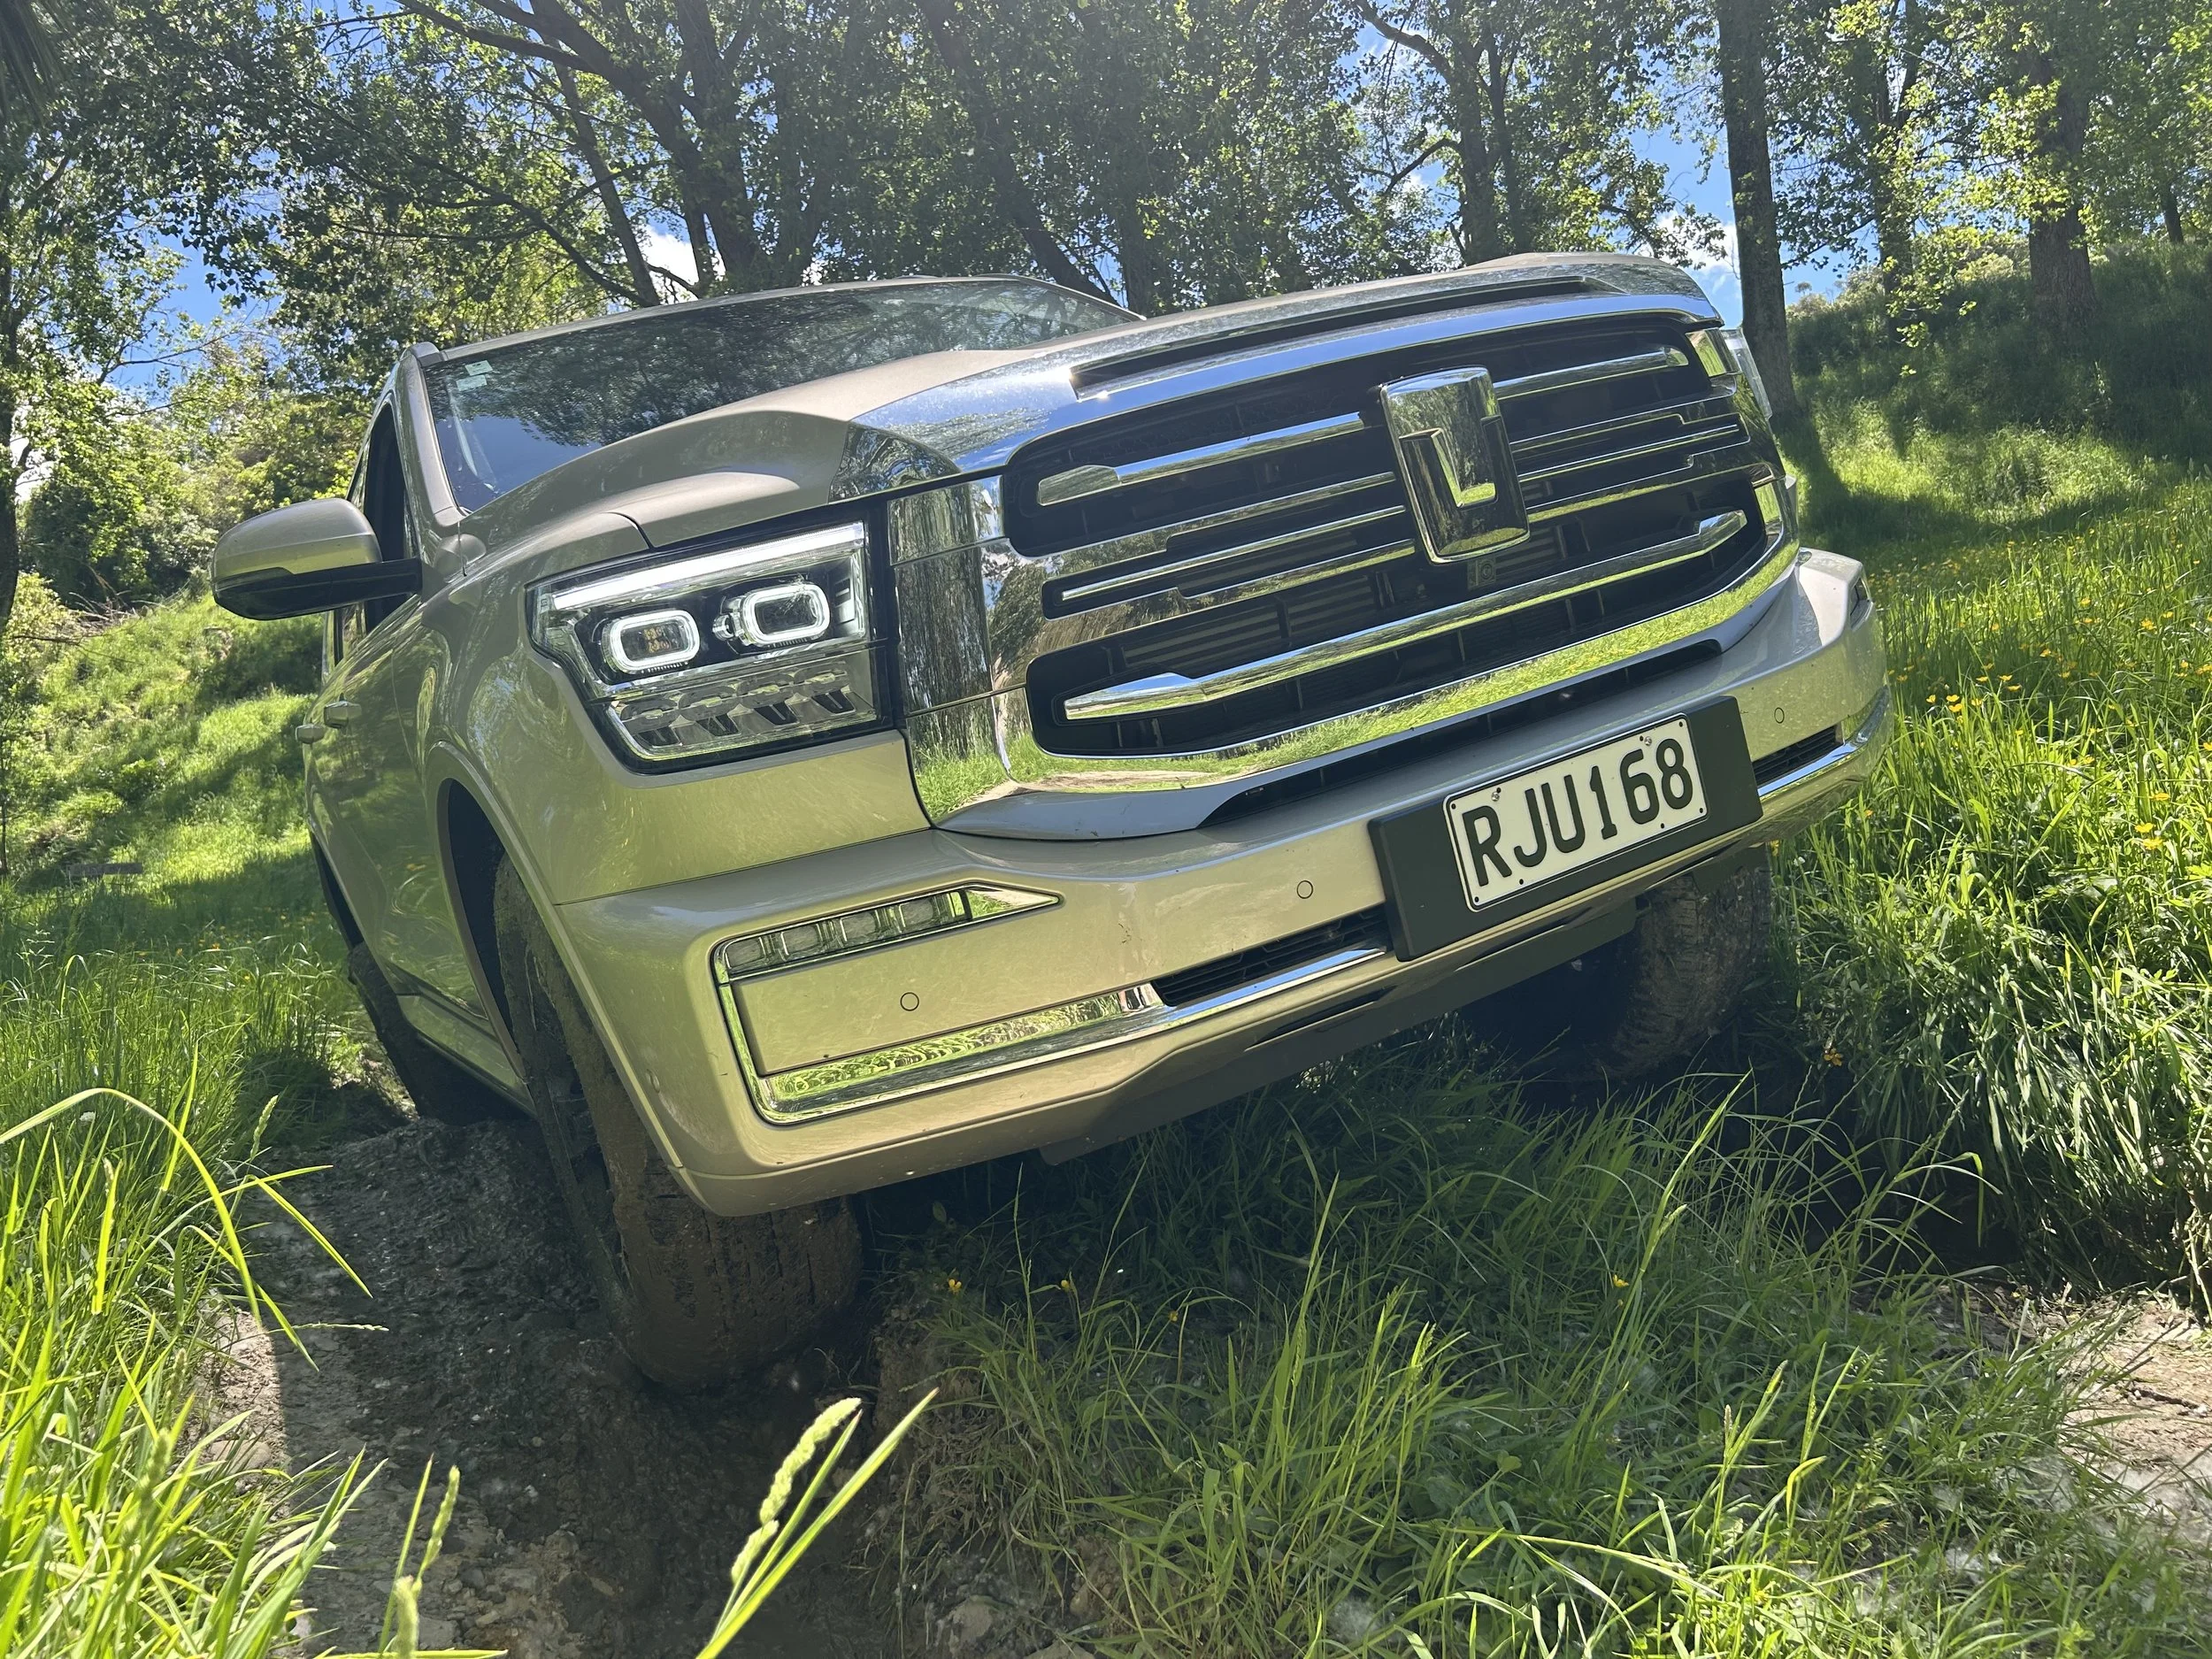
The image here provides an example of what I'm on about, by getting down low, we've accentuated the 'strength' of the Hilux's shape.
Rule of thirds
The rule of thirds is a compositional technique that allows the even distribution of focal points in an image. Simply put: it lines objects up in the right place and helps the image to have depth, structure, and style. As you can see, the image above has been divided into 9 sections via two vertical and two horizontal lines.
The idea, is to create other points of interest in the image and to add depth and dimension to the whole image. There’s a lot more to the rule of thirds than just that, but that will require some extra study on your part. For now most cameras and phones come with a ‘grid’ option that you can turn on. Its useful if you want to get your horizons straight as well.
Narrow your focal length
CAR displays provide great opportunity for terrific imagery, but there can be challenges, primarily when vehicles are placed in close proximity to each other or in situations where the backgrounds can provide distraction.
‘Focal Length’ is photographer lingo for ‘zoom’ and this tip applies all types of camera. If you move closer to the car you will see that the car takes on the shape of the lens and looks distorted. Try moving further away from the car and using the zoom on your camera to narrow the field of view. This will make the car fill the image and cut out some of the distractions out. These images of Minis illustrate the point I'm making.
Pick your background - no grass!
Now that we have discussed some basic compositional techniques, that will serve you well at a moment's notice.
Let us now look at some tips for true car lovers; say you have a beloved car of your own or an acquaintances vehicle you want to photograph. Picking the right background is essential. If you have a brand new car on your hands then often a smart tidy building either modern or upper class classic design is the way to go. If you have a modified JDM or Muscle machine then finding somewhere slightly derelict, graffitied or ageing makes a very good juxtaposition. Classic cars can actually go on either style but SUV’s and 4x4’s are often a bit tricker as you want to see vehicles like that in a more rugged setting but they need to remain clean.
Taste in background is something you will have to acquire as you will go along but remember to not have anyone bystanders in the background, avoid power poles and anything that looks like it is sticking out of the car. Most importantly and i cant stress this enough, No Grass. Never put any vehicle on grass to photograph it, the reason being that the blades with stick up over the tyres, the green is reflected in the body work and altogether the green of the grass doesn't contrast against the colour schemes of automotive manufacturers. Nature can very well be used as a background for automotive photography but there needs to be some form of man made surface beneath it.
Weather and light
Lessons on weather are not needed. However picking a location and choosing the right time of day to use it go hand in hand. You want the sun behind you to illuminate the car and to avoid the whited out sky scenario. I realise this is easier said than done, knowing where the sun will rise and set for that particular location is not easy. Fortunately the internet can come to your rescue in the form of SunCalc (http://www.suncalc.net). Type in the address you wish to shoot and the calculator will help you to work out the best time of day to make the most of it. Knowing how to make best use of light becomes especially important when photographing interiors.
Positioning
A very important rule to follow. Is to never leave the car in one place and to just walk around it, it is rare that any location offers full 360 perfect views so it is important to move the car to various spots to maximise the location and to increase variety in your images. Leaving a car in one position and walking around it, is lazy and the lack of effort will show up in your photos.
The next point is a question of taste; wheel alignment. Turning the wheels full lock towards the camera gives the car attitude and makes them stand out. However there are some angles where a completely straight wheel alignment is advisable. The best advise i can give for this, is to research or just start playing attention to vehicle advertisements. Start to getting a feeling for angles and wheel position.
Keep it clean
A car shoot is a lot of effort, make sure it's not all put to waste by the subject not looking its best. The proud owner of this Mercedes SLS had done his part, delivering his car to my studio in almost factory-fresh condition. However, I had a Plan B just to be on the safe side.
You don't need much. A container of clean water and dish cloth are top of the list; bear in mind that every time you move the car the wheels will pick up dirt. This will stand out vividly on tyres.
I also carry a microfibre cloth. This is to clean off any bugs or filth that the car might have survived the pre-shoot wash. A chamois leather remains the perfect tool to remove unwanted streaks.
It is advisable to shoot the interior first so the car can be moved and debris will not be dragged in. However if like me, you prefer to work your way in, then carry some some plastic bags or sheeting to lay down on the carpets.
Before shooting, take a look around the interior: It's easy to overlook keys, usb cables and those coins left in the centre console.
I like clean windscreens. Obviously, I cannot physically remove registration and WoF stockers. But this is where the use of editing software comes in.
Selection
IN the days of film it was commonly said that if you take 100 photos and have just a single truly great one then you have done well. In this digital age, that obviously goes out the window. Nonetheless, the skill of selection remains hugely important.
Let's imagine you are taking the front three-quarter shot. You could easily take as many as 30 images while trying to get the right height and angle. You might find that six images pass muster, but you only need one. What are the specific attributes that defines this the lucky winner? Of course, that's just one shot from one angle. You might want to create a portfolio.
The big rule is avoid whittling down to duplicates; two similar images with the same background devalue each other. There’s nothing wrong in saving the others and potentially revisiting them later on but that final set you print or post online needs to have one of each type.
Editing
Editing is a discipline of art in itself and requires many, many hours of trial and error, memorising shortcut keys and patience.
But if you are looking to learn the basics and just generally improve your images all round without going too far, then I recommend getting yourself a copy of Adobe Lightroom. The development section with its easy-to-use tools lets you really get the most out of a photo. There’s also a multitude of great educational videos on YouTube.
Say you have already mastered the art of Lightroom and then want to set yourself a challenge in Adobe Photoshop?
While attending the Taupo Historic Grand Prix I saw a Formula Two car in the pits. I knew there was a good photo there somewhere but I had to be quick. With lots of people around there were just a few seconds to achieve a clean (no humans) image, and even then it still don't look pleasing: I didn't like how the spare wheels had been stacked outside the garage.
Above you can see the image as it was taken - and how it was subsequently edited, with PhotoShop.


